Deploying Express site with Dokku
In this post I’ll give a step by step tutorial on how to set up and deploy your first simple site with Node.js, using the Express framework, deployed to Digital Ocean using Dokku.
Dokku
Dokku is docker powered “mini-Heroku”. Dokku provides a better interface to app deployment, comparable to the offerings of Heroku. It works for any VPC, but I favor DigitalOcean for quick setup and ease of use.
Digital Ocean
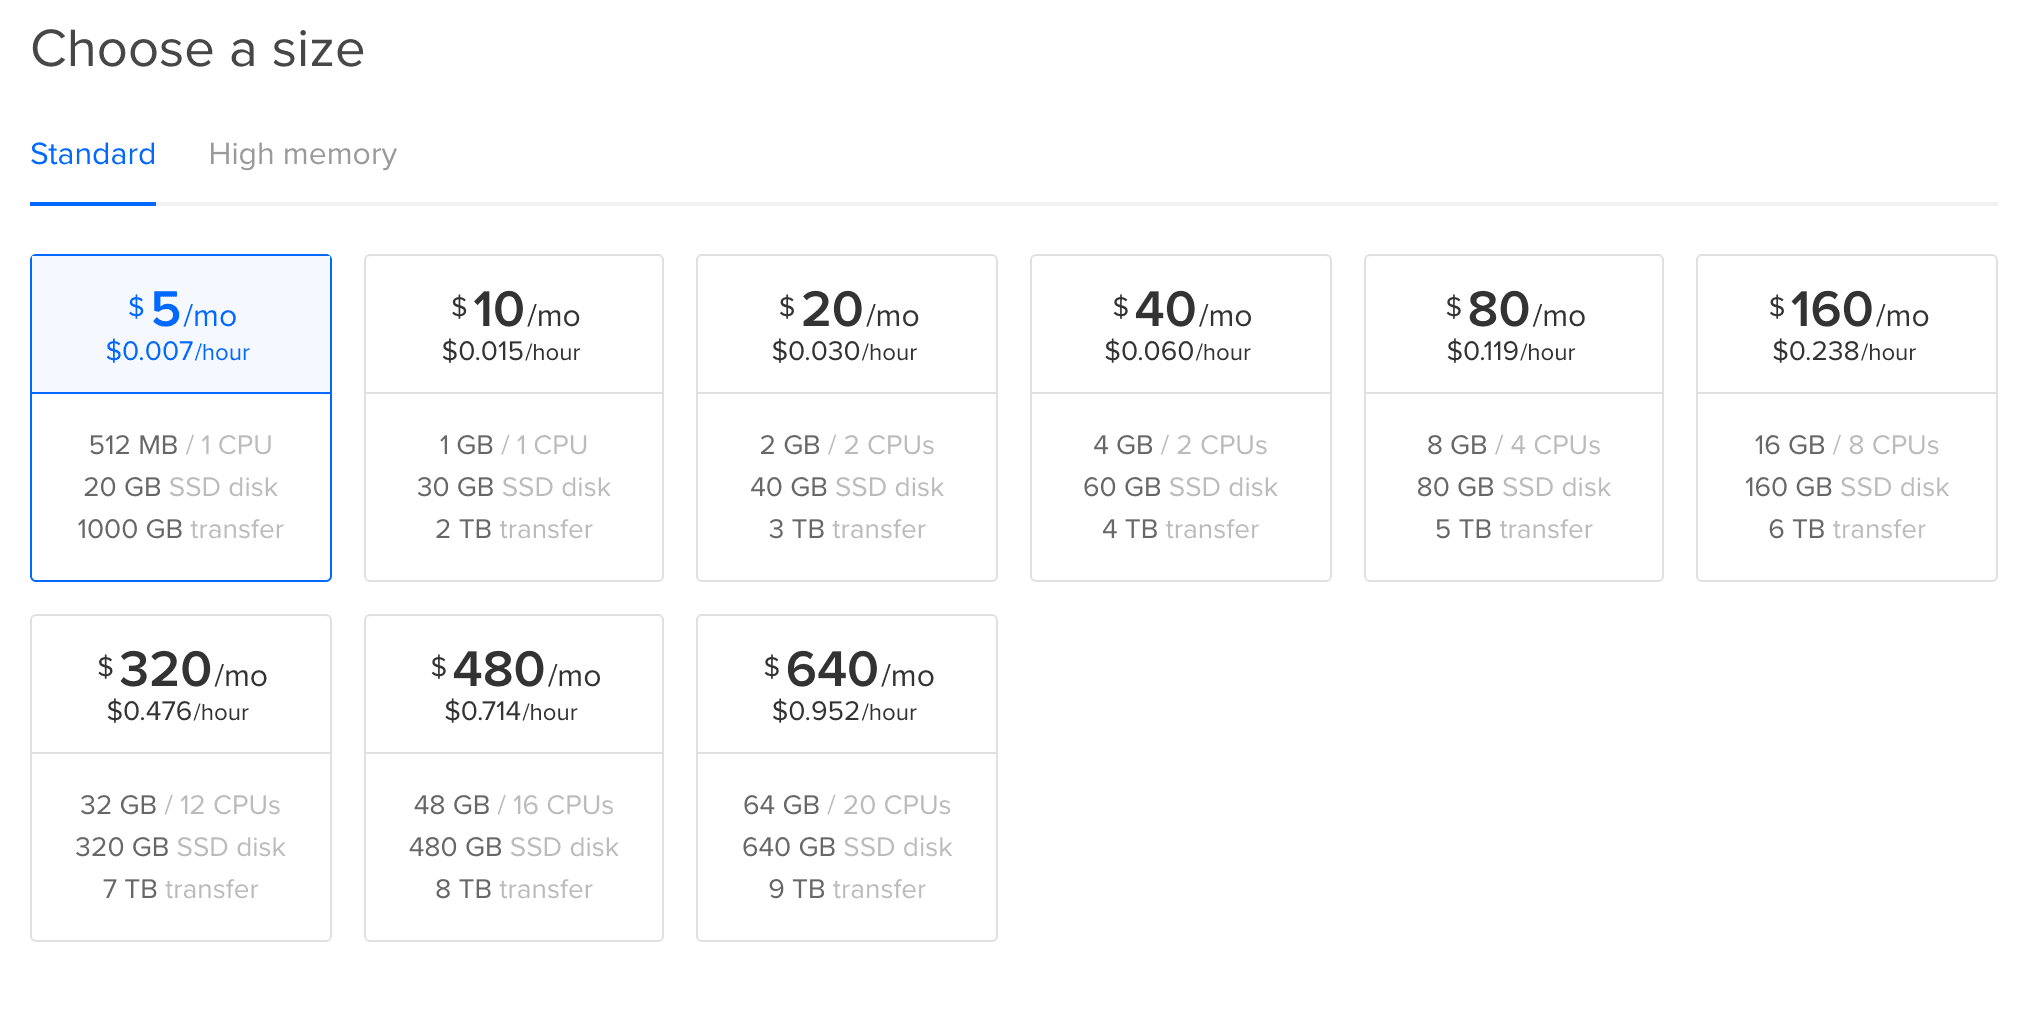
DigitalOcean is a great place to host your web apps, being cheaper than other, managed services or Heroku. It has a $5/month plan, and using the DigitalOcean promo code gives you $10 credit (two months) for free to try it out.
Sign up
Use this link to Sign up for DigitalOcean. You’ll get 10$ for free out that. Down side is that you have to add a credit card (I’d’ love to not have to do this, but they don’t charge you until you run out of credit.) or pay 5$ credit via PayPal.
Get Domain (Optional)
Get your self a domain that makes all things cleaner.
Setup SSH Key
If you don’t have SSH Key generate it otherwise just skip the following step.
ssh-keygen -t rsa -b 4096 -C "your_email@example.com"Now copy your SSH Key to clipboard
pbcopy < ~/.ssh/id_rsa.pubNavigate to Click on profile picture > Settings > Add SHH Key and paste you link.
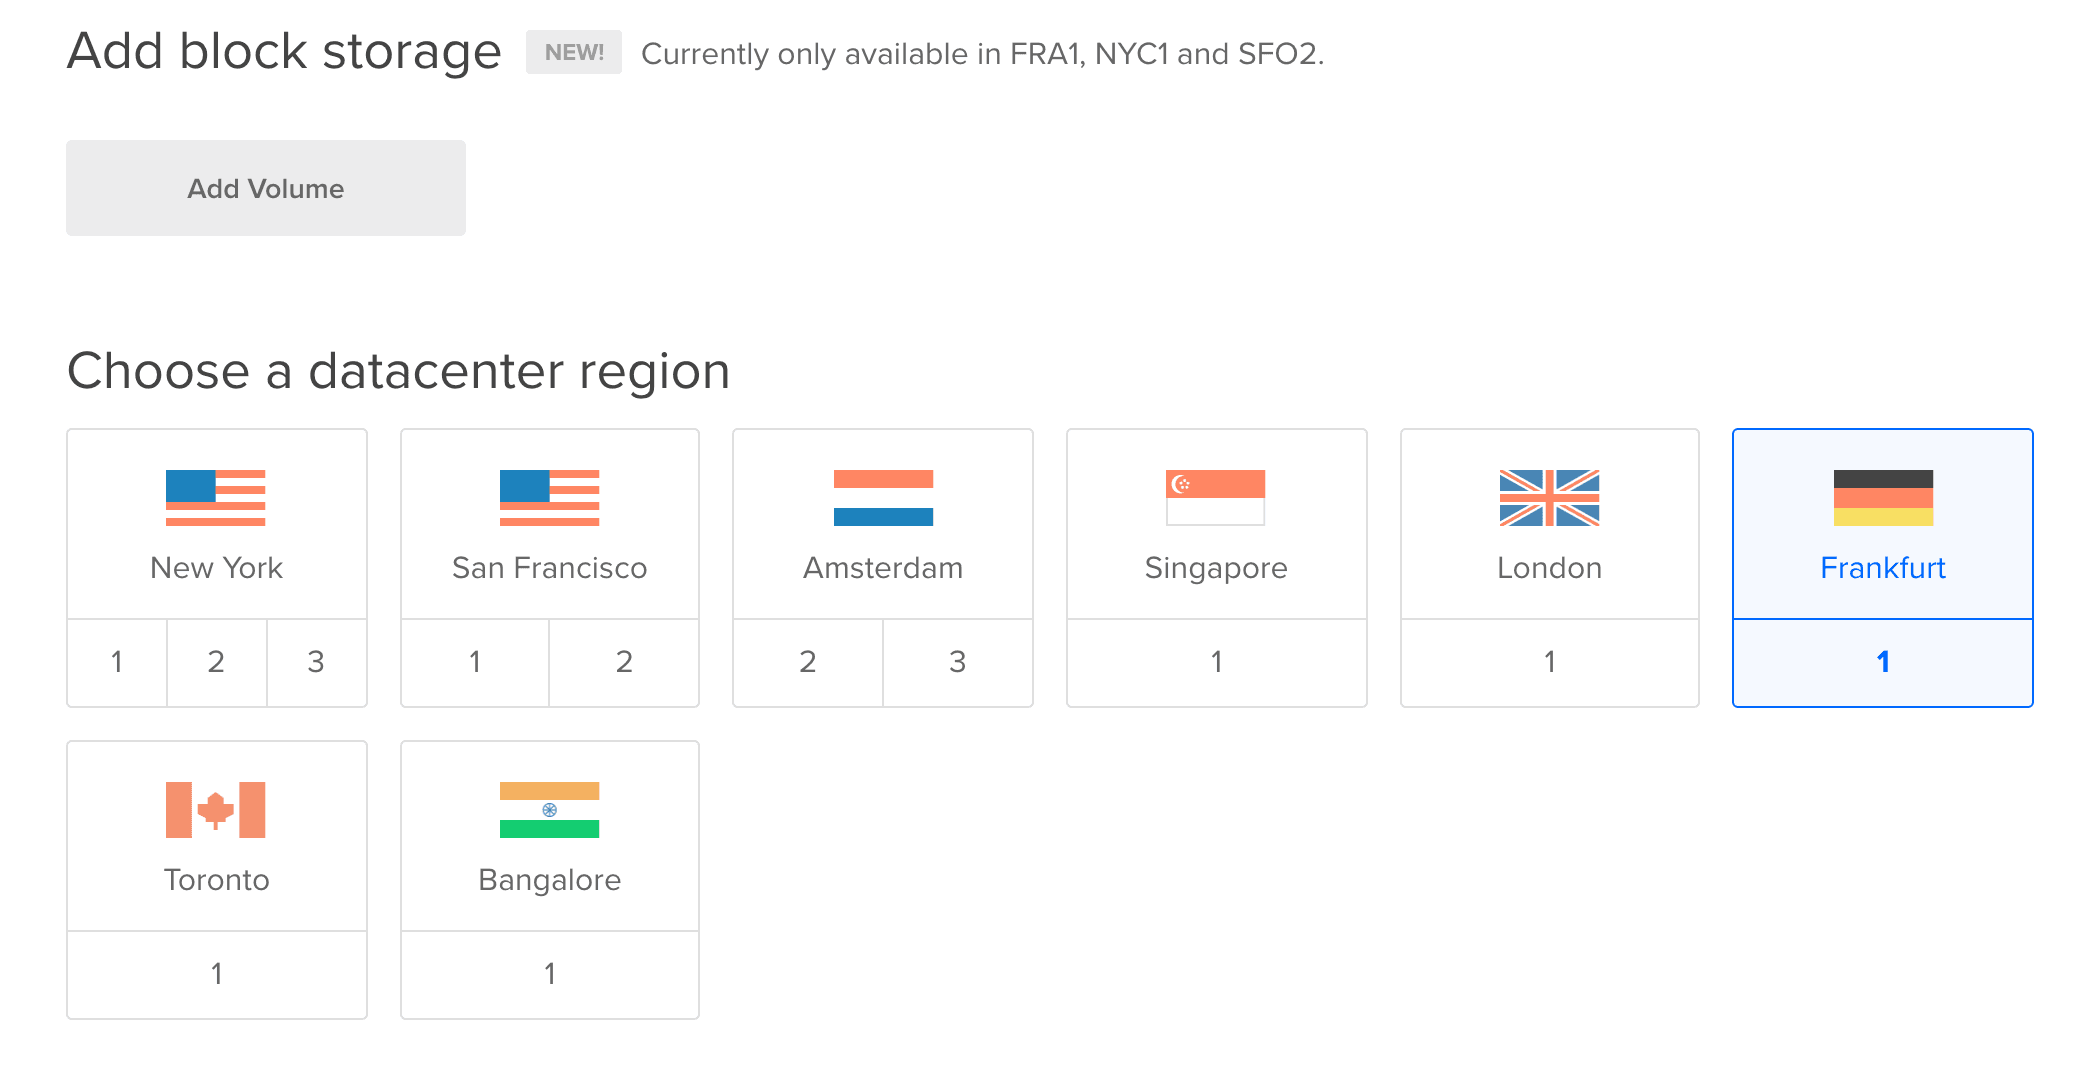
Create Digital Ocean Droplet
If you have a real domain available use that as your hostname.
Select the dokku app from the list of applications.
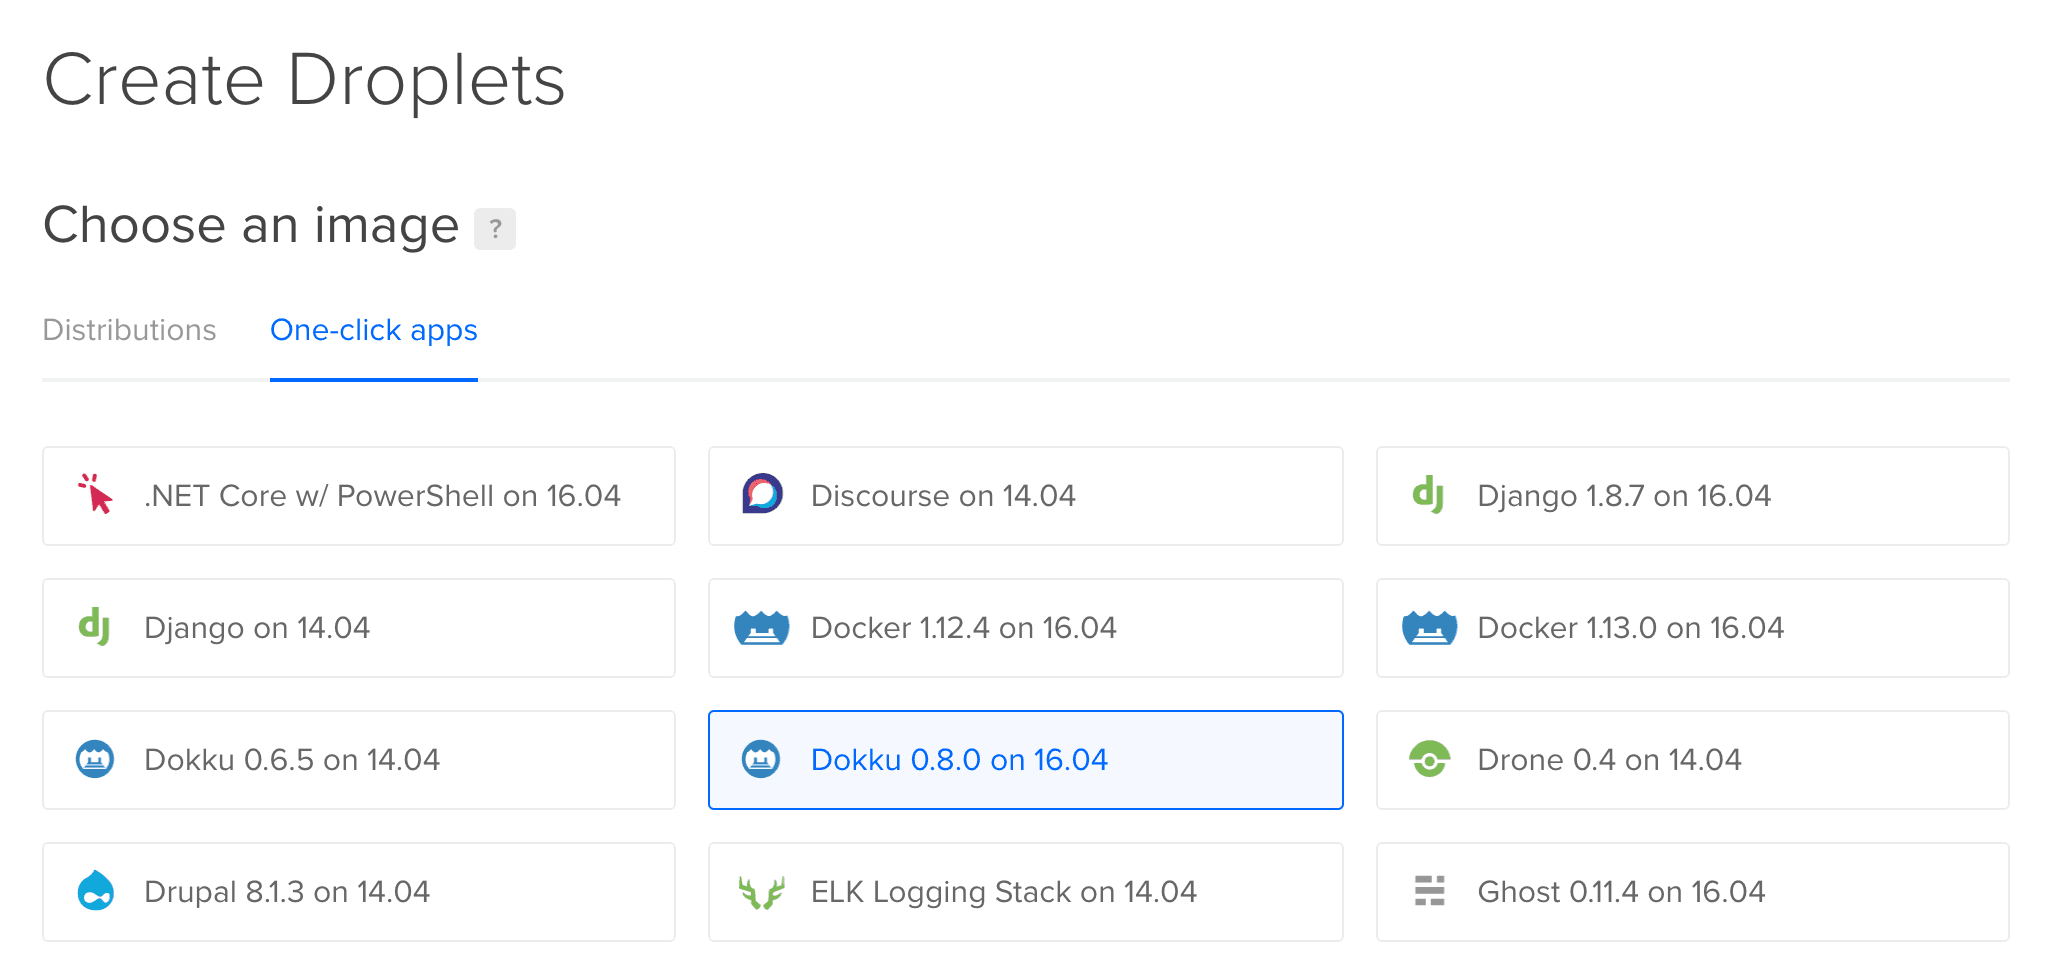
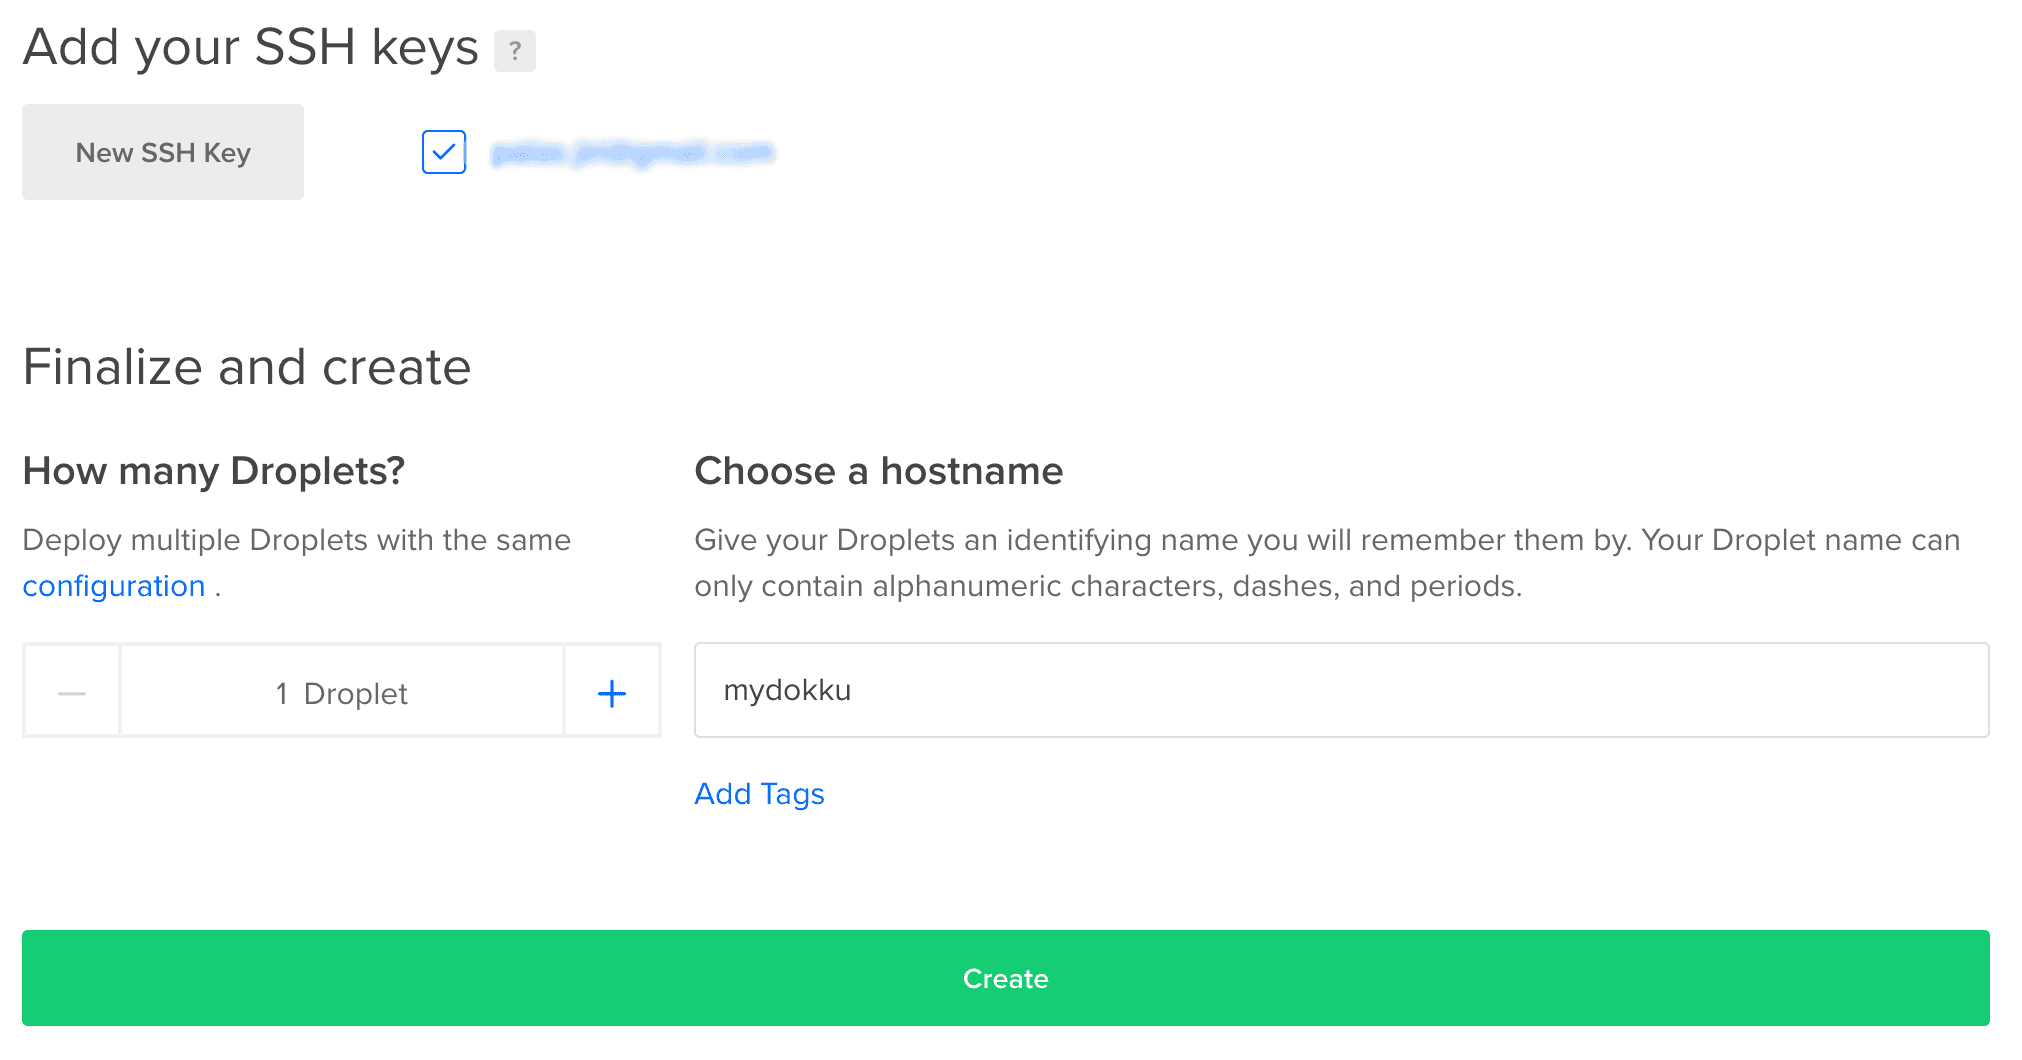
Add your SSH key and create the droplet.
You need to DELETE the droplet to stop being charged for it. You will still be charged the hourly rate even if you power it down.
Setup DNS
At your domain registrator create A record pointing to your location. Eg. setting in OnLine DNS:
Name      Adress                TTL
––––––––––––––––––––––––––––––––––––––––––––—–——————
@         droplet_ip_address    900
*         droplet_ip_address    900
Set up Dokku Droplet
Navigate to domain you’ve setup in the previous step
Note: If did setup DNS record recently it may take some time to propagate changes.
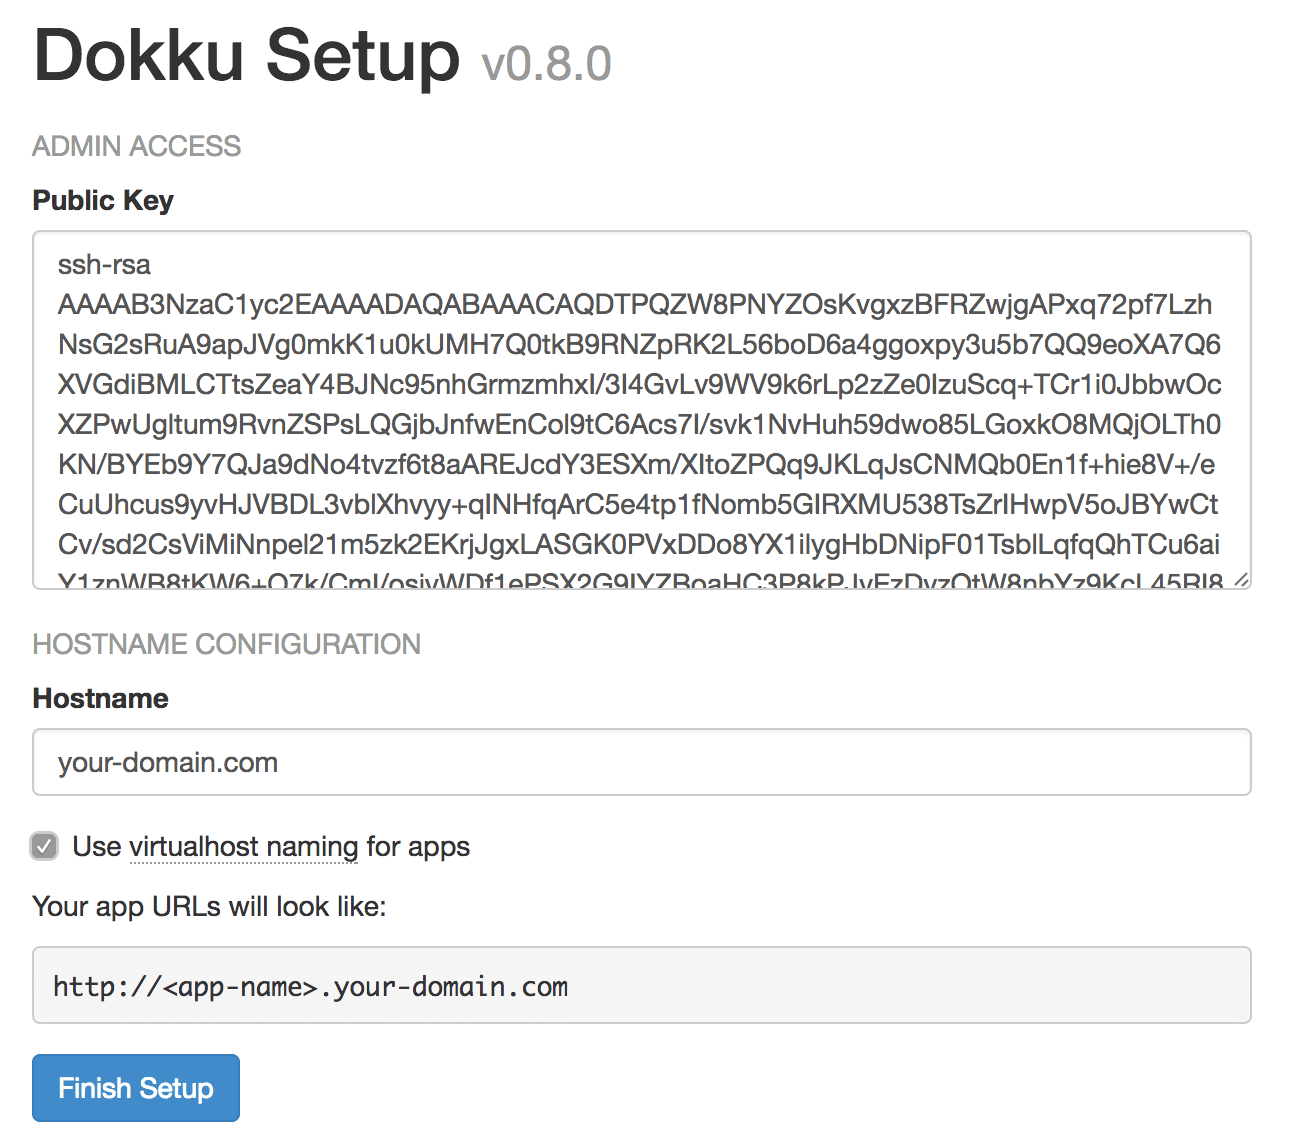
Check option “Use virtualhost naming for apps”. It will allow you to access apps in the following manner.
http://myapp.your-domain.comClick “Finish Setup”.
Now ssh into your machine and execute following steps before your deploy apps to settup proper server locale.
echo 'LANG=en_US.UTF-8' > /etc/default/locale
echo 'LC_ALL=en_US.UTF-8' >> /etc/default/locale
sudo locale-gen en_US en_US.UTF-8
reboot
Creating application
Now create express application using generator.
express --view=pug myappNavigate to project directory
cd myappCreate Procfile to launch application.
echo "web: node ./bin/www" > ProcfileNow, our application is created and we can deploy to the Dokku server.
Deploying to Dokku
Deploying to Dokku is really simple. We just need to git push to a particular remote. In your terminal, type:
Next, create a new file called .gitignore and add:
node_modulesThis makes sure we don’t copy those with our code unnecessarily, as Dokku will install any dependencies that are needed. Now, back in your terminal, type the following commands:
git init && git add --all && git commit -m "Initial commit"First, first command makes project a Git repository. Following commands adds all changes.
git remote add dokku dokku@your-domain.com:myappNext we add a remote called dokku at the location dokku@your-domain.com:myapp. The :myapp is the name of our app. Remember when I mentioned multiple apps on the same server, that’s where the app name is important.
Now, to deploy, we simply push our code to the Dokku server:
git push dokku masterWait a minute or so, read the output:
...
-----> Releasing myapp ...

-----> Deploying myapp ...
-----> Cleaning up ...
=====> Application deployed:
       http://myapp.your-domain.com

To dokku@your-domain.com:myapp
Then we can hit our URL and get our site!
Please feel free to comment and share!